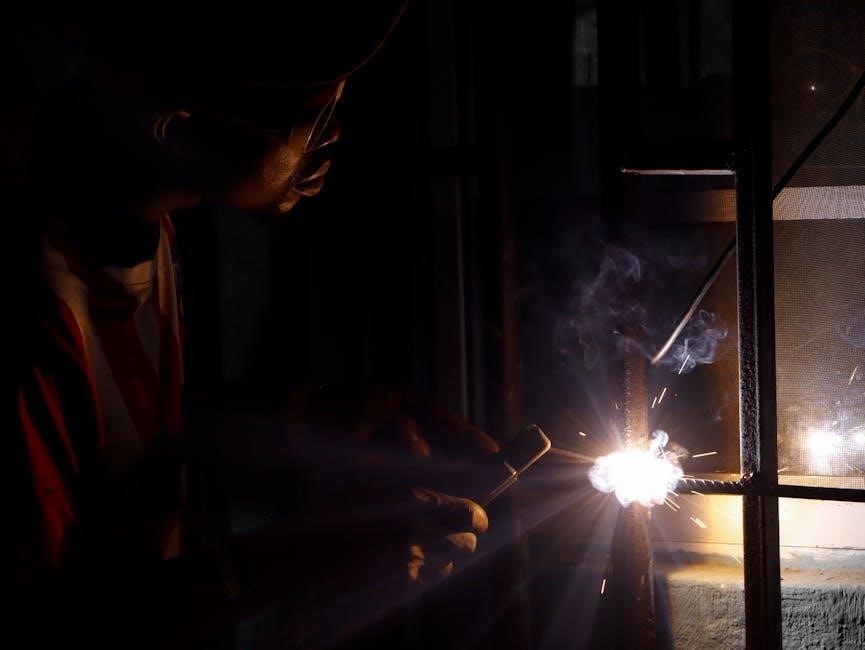
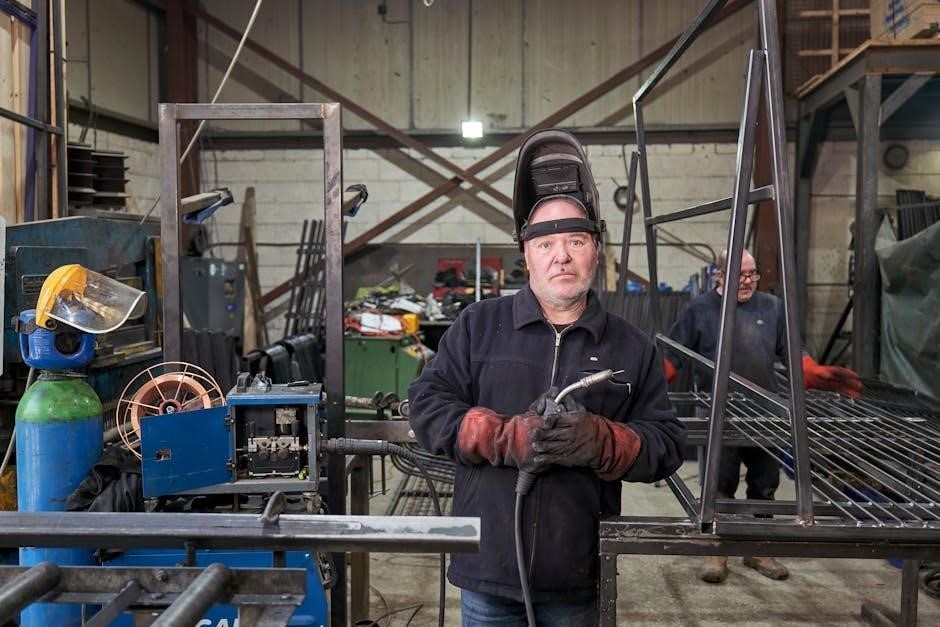
Safety Precautions
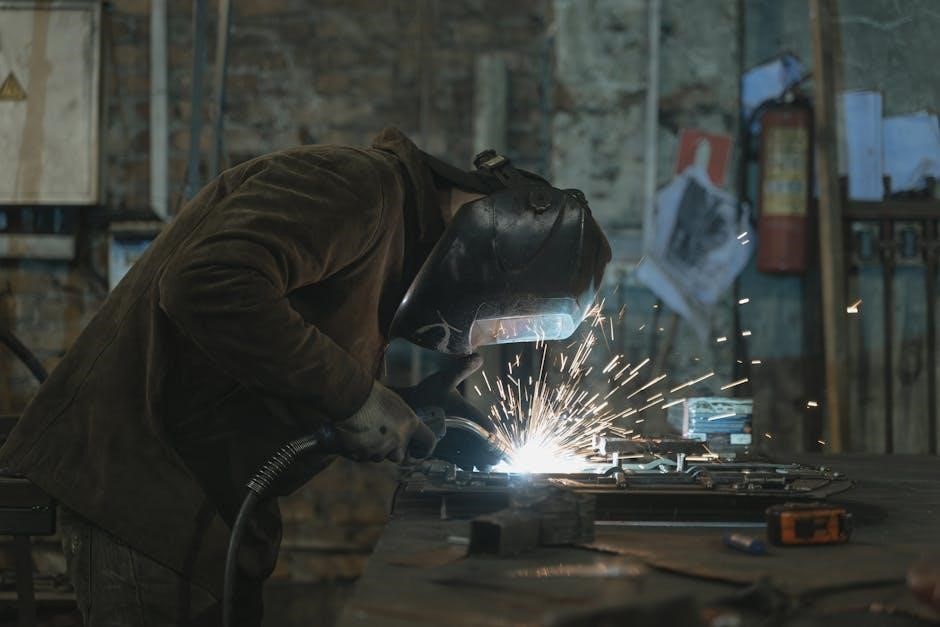
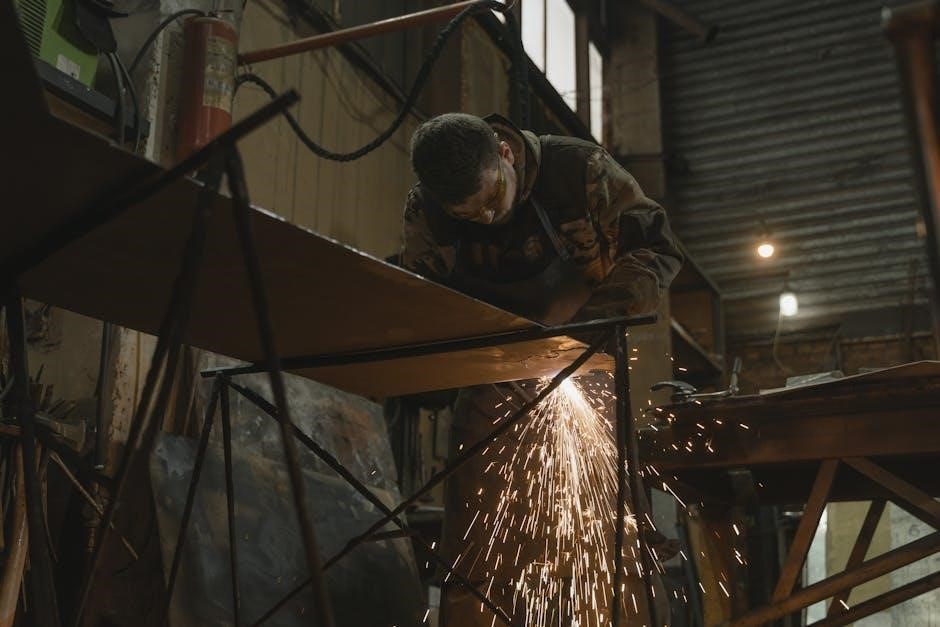
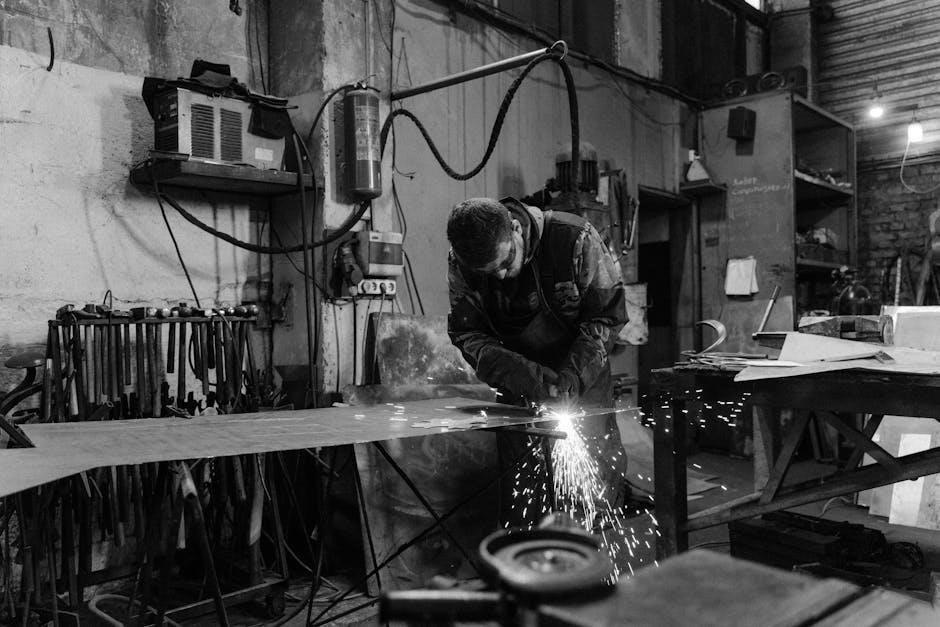
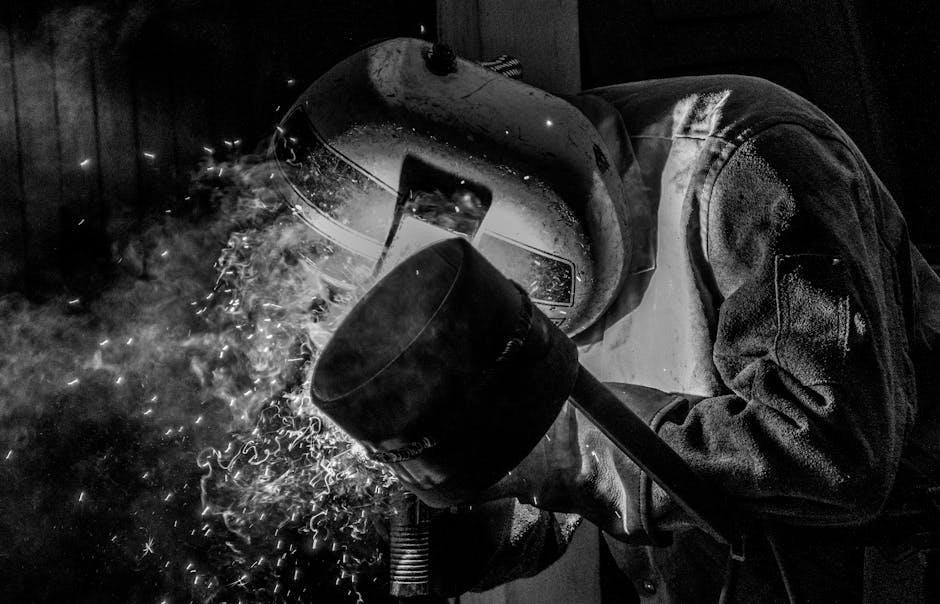
Always wear protective gear, including welding helmets, gloves, and fire-resistant clothing. Ensure proper ventilation to avoid inhaling fumes. Keep loose clothing tied back and avoid jewelry.
Follow instructions for equipment setup and operation. Disconnect power before maintenance. Never touch electrical components with wet hands or in damp conditions. Keep children and unauthorized individuals away from the welding area. Refer to the manual for specific safety guidelines related to your Miller welder model.
1.1 General Safety Guidelines
Always prioritize personal safety when operating Miller welders. Wear approved welding helmets with shaded lenses, heat-resistant gloves, and flame-proof clothing. Ensure proper ventilation in the workspace to prevent inhalation of harmful fumes and particles. Keep the welding area clean and clear of flammable materials. Avoid loose clothing or jewelry that could catch fire or cause accidents. Follow the manufacturer’s instructions for equipment setup and operation. Never touch electrical components with wet hands or while standing on a damp surface. Regularly inspect welding cables and connections for damage. Keep children and unauthorized individuals away from the welding equipment. Familiarize yourself with emergency procedures, such as turning off the power supply in case of malfunctions. Adhere to all safety warnings and guidelines outlined in the Miller welder manual to ensure safe operation.
1.2 Specific Safety Tips for TIG and MIG Welders
For TIG and MIG welders, ensure proper grounding of the welding machine to prevent electrical shocks. Use high-frequency start cautiously and only when necessary. Always maintain a safe distance from the welding arc to avoid eye exposure. Clean the workpiece thoroughly to remove oils, grease, or moisture, which can cause porosity or electrical issues. When using shielding gases, ensure proper ventilation to avoid inhaling fumes. For TIG welders, handle the tungsten electrode with care, as it can become extremely hot. For MIG welders, regularly inspect the wire feeder and liner for blockages or damage. Never leave the welding torch unattended while it’s active. Follow specific guidelines in the Miller manual for handling consumables and replacing parts. Always turn off the power source before performing maintenance or adjustments to avoid accidental start-ups.

Manual Overview

The Miller welder manual provides comprehensive guidance on safety, setup, operation, and maintenance. It includes detailed instructions, diagrams, and troubleshooting tips to ensure optimal performance and safety.
2.1 Structure and Content
The Miller welder manual is organized into clear sections, starting with safety precautions, followed by setup and operation guides. It includes detailed diagrams and troubleshooting tips to help users resolve common issues efficiently. The manual also covers maintenance routines and parts replacement, ensuring longevity of the equipment. Each section is designed to provide easy-to-follow instructions, making it accessible for both novice and experienced welders. The content is comprehensive, covering all aspects of the welder’s functionality, ensuring users can operate and maintain their equipment safely and effectively. This structured approach helps users navigate the manual effortlessly, finding the information they need quickly and accurately.
2.2 Key Sections to Focus On
The Miller welder manual emphasizes critical sections for optimal use. Begin with the safety precautions to ensure hazard-free operation. The setup and operation guide provides step-by-step instructions for configuring your welder. Pay attention to the maintenance section for routine care tips, such as cleaning and replacing parts. Troubleshooting is another vital area, offering solutions for common issues like faulty arcs or error codes. Additionally, the parts list and warranty information are essential for identifying and ordering replacements. Focusing on these sections ensures you understand your welder’s capabilities, maintain its performance, and address problems efficiently. By prioritizing these key areas, you can maximize the lifespan and productivity of your Miller welder.
Different Types of Miller Welders
Miller offers MIG, TIG, and Stick welders, each designed for specific welding needs. MIG welders are versatile for various metals, TIG for precision, and Stick for durability in harsh conditions.
3.1 MIG Welders: Setup and Operation
Setting up a Miller MIG welder involves unpacking, positioning, and connecting the power supply. Install the wire spool, ensure proper gas flow, and set shielding gas according to the manual.
Operate by selecting the correct voltage and wire feed speed for the material thickness. Always prepare the workpiece by cleaning and removing contaminants. Initiate the arc smoothly, maintaining consistent travel speed. Keep the gun at the recommended angle to achieve optimal weld penetration and appearance. Post-weld, allow the equipment to cool and clean the nozzle regularly. Refer to the manual for specific settings and safety guidelines to ensure efficient and safe operation;
3.2 TIG Welders: Setup and Operation
Setting up a Miller TIG welder involves unpacking, connecting the power source, and attaching the TIG torch. Ensure the tungsten electrode is properly seated and the collet is tightened.
Set the shielding gas flow rate as recommended in the manual. For operation, use the high-frequency arc start to initialize the weld. Maintain a steady hand and consistent travel speed for precise control. Adjust the amperage and polarity based on the material being welded. Keep the workpiece clean and free of contaminants. Post-weld, inspect the joint and store the equipment securely. Always refer to the manual for model-specific settings and safety guidelines to achieve optimal results and prevent equipment damage.
3.3 Stick Welders: Setup and Operation
Setting up a Miller Stick welder begins with connecting the power source and ensuring the welding leads are securely attached. Select the appropriate electrode for the material being welded, as specified in the manual.
Adjust the welding current to the recommended range for the electrode type. Strike an arc by scratching the electrode on the workpiece, maintaining a consistent angle and travel speed. Keep the electrode clean and replace it when necessary. After welding, inspect the weld for defects and clean the slag. Store electrodes in a dry, cool place to prevent degradation. Refer to the manual for specific setup instructions and operational tips to ensure safe and efficient welding with your Miller Stick welder.
Maintenance and Care
Regularly clean the welder and its components to prevent dust buildup. Check cables and connections for wear and damage. Store electrodes in a dry place to maintain quality.
Perform routine inspections as outlined in the manual to ensure optimal performance. Proper maintenance extends the lifespan and efficiency of your Miller welder.
4.1 Routine Maintenance Tasks
Regularly inspect and clean the welding gun, torch, and consumables to ensure proper operation. Check for wear on contact tips and replace them as needed.
Clean or replace the air filter to maintain airflow and prevent overheating. Lubricate moving parts according to the manual’s instructions.
Inspect power cables for damage and ensure all connections are secure. Perform a daily check of the welding machine’s cooling system.
Store electrodes in a dry, cool place to prevent moisture absorption. Refer to the manual for specific maintenance schedules tailored to your Miller welder model.
4.2 How to Replace Parts and Consumables
Before replacing any parts, ensure the welder is powered off and all capacitors are discharged. Refer to the manual for specific instructions on replacing components like contact tips, nozzles, or wire feed rollers.
Order genuine Miller replacement parts to maintain performance and safety. When replacing consumables, clean the area thoroughly to prevent contamination.
For complex parts like welding guns or torches, follow the step-by-step guide in the manual. Regularly inspect and replace worn or damaged consumables to ensure consistent welding quality.
Keep track of replacement intervals to avoid unexpected downtime. Always test the equipment after replacing parts to ensure proper function.

Troubleshooting Common Issues
Check power supply, ensure proper connections, and verify settings. Consult the troubleshooting guide in the manual for solutions to issues like faulty parts or error codes.
5.1 Common Problems and Solutions
Common issues with Miller welders include faulty arc starts, incorrect wire feeding, and error codes. For arc-related problems, check polarity settings and ensure proper torch connection.
If wire feeding is inconsistent, clean the liner and verify wire tension. Error codes should be referenced in the manual for specific solutions, such as resetting or replacing parts. Always disconnect power before performing diagnostics. Consult the troubleshooting guide for detailed repair steps and maintain regular equipment maintenance to prevent recurring issues.
- Power supply issues: Check connections and ensure correct voltage.
- Arc problems: Verify polarity and clean consumables.
- Wire feeding issues: Inspect and replace worn parts.
5.2 Understanding Error Codes and Alarms
Miller welders are equipped with error codes and alarms to alert users of potential issues. These codes are designed to help identify and resolve problems quickly. For example, “E1” may indicate an overheat protection trigger, while “E2” could signal a power supply issue. Alarms often accompany these codes, providing audible or visual notifications. Always refer to the manual for specific code meanings, as they vary by model. Addressing these codes promptly ensures safe and efficient operation. Regular maintenance, such as cleaning components and checking connections, can prevent many common errors. If unresolved, contact Miller’s technical support for further assistance.
- Overheat protection: Ensure proper cooling and reduce workload.
- Power supply issues: Check input voltage and connections.
- Communication faults: Verify cable connections between components.

Accessories and Consumables
Essential accessories include welding guns, torches, and nozzles. Consumables like electrodes and wires must be compatible with your Miller welder for optimal performance and safety. Always refer to the manual for recommendations.
6.1 Essential Accessories for Miller Welders
Essential accessories for Miller welders include high-quality welding guns, TIG torches, and nozzles designed for specific welding processes. These components ensure optimal performance and longevity of your equipment.
Additional accessories like wire feeders, shielding gas kits, and foot pedals enhance control and precision. Consumables such as electrodes, welding wires, and contact tips must be compatible with your welder model for consistent results. Always refer to the manual for recommended accessories to maintain warranty and ensure safety. Properly selected accessories can significantly improve welding efficiency and reduce downtime. Invest in genuine Miller parts to uphold the quality and reliability of your welding system.
6.2 Choosing the Right Consumables
Choosing the right consumables for your Miller welder is crucial for optimal performance and durability. Always select electrodes, wires, and contact tips that are compatible with your welder model and the specific welding process.
For MIG welding, high-quality welding wires designed for your material type are essential. TIG welding requires precise tungsten electrodes that match your application. Regularly inspect and replace consumables to prevent poor weld quality or equipment damage. Refer to your manual for recommendations on compatible consumables. Using genuine Miller parts ensures reliability and maintains your welder’s warranty. Proper consumable selection enhances efficiency, reduces downtime, and delivers consistent welding results. Always store consumables in a clean, dry environment to prevent degradation.
Where to Find the Manual
The Miller welder manual can be downloaded from the official Miller Electric website. Visit the support section, enter your product model or serial number, and access the PDF manual.
Additionally, specific models like the Miller Syncrowave 350 LX have dedicated manual links. Ensure to download from authorized sources for accurate and safe instructions.
7.1 Downloading the Manual Online
To download the Miller welder manual, visit the official Miller Electric website. Navigate to the support or resources section and enter your specific welder model or serial number.
The website provides a user-friendly search feature to quickly locate your manual. Once found, click the download link to access the PDF version. Ensure your device has a PDF reader installed to view the document.
For models like the Miller Syncrowave 350 LX, dedicated manual links are available. The manual includes safety precautions, setup instructions, and troubleshooting guides.
Downloading from the official site guarantees you receive accurate and up-to-date information. If unsure, use keywords like “Miller welder manual PDF” in your search for quick access. The mobile-friendly interface allows downloads on smartphones or tablets, ensuring convenience for all users.
7.2 Accessing Technical Support and Resources
Miller Electric provides comprehensive technical support and resources to ensure optimal use of their welders. Visit their official website to access a dedicated support section.
Here, you can find troubleshooting guides, FAQs, and detailed service manuals. For specific inquiries, contact local distributors or use the website’s contact form.
Additional resources include repair manuals, parts lists, and instructional videos. The website is mobile-friendly, allowing easy access on smartphones or tablets.
For advanced assistance, Miller offers technical manuals and welding process guides, such as SMAW and GMAW instructions. Their customer service team is available to address complex issues or provide clarification on specific models like the Syncrowave 350 LX. Utilize these resources to maintain your welder’s performance and resolve any operational challenges efficiently.
This manual provides a comprehensive guide to Miller welders, ensuring safe and successful welding experiences. Always follow safety guidelines, maintain equipment regularly, and refer to troubleshooting sections for common issues. By adhering to these instructions, users can optimize performance and extend the lifespan of their welder. Happy welding!